Overview
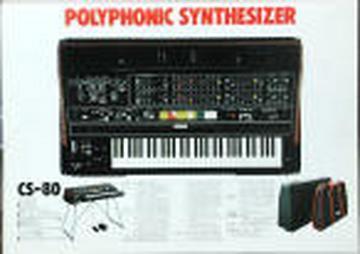
Yamaha CS80
For fans / owners of one of the greatest (and heaviest) synthesizers every built. CS50s, CS60s, and GX1s are welcome here too!
Let us know what you have, what condition it's in, what music you make with it.
Discuss repairs and modifications.
Talk about your favorite songs and artists that used the CS80.
Look for units for sale or sell yours.
- Members
- 416
- Created
- 2004-08-10
Search
Search this archive
Thread snapshot
Last 10 threads
- WTB : IG00150 / M51620P LFO chip (1 messages, 2019-10-22)
- Migrating the group (6 messages, 2019-10-20)
- Questions About Kenton Midi Kit (6 messages, 2019-10-19)
- Re: Roland vp330 mk2 (1 messages, 2019-10-04)
- CS-80: make a plan for a servicing (19 messages, 2019-04-14)
- Selling mine Yamaha CS80 (1 messages, 2019-03-05)
- Selling/Trading Mine (not working) (1 messages, 2019-02-26)
- Clean CS-80 Overall Circuit Diagram (16 messages, 2018-11-11)
- Stuck sounds from the CS80 (5 messages, 2018-10-08)
- CS80 stuck/hanging note (7 messages, 2018-10-01)